Importing Data
Importing data into Vespucci is a simple process. One must first select the File option to import an external dataset.

Doing this opens a new dialog box. The file of interest can be searched for by selecting Browse, then selected by moving through the standard folder structure to the location and file of interest. Vespucci currently supports .txt file types as a single dataset, and .txt, .csv, and .dat file types for multiple point spectra.
Once this is complete, the selected file should be visible in the "browse" window. Depending on how the information is stored in the file, the "Swap x and y?" choice should be selected. Vespucci normally expects the x axis first in a dataset, but this can be changed.
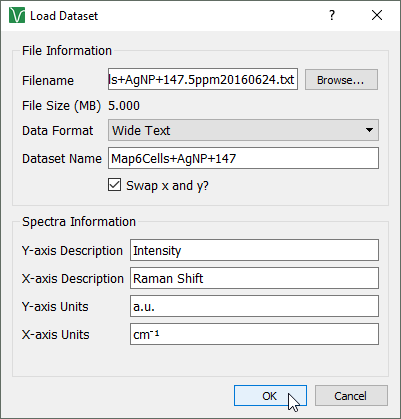
Additionally, the "long" or "wide" data formats can be selected. Long data separates all values into columns, such that all abscissa points, with their corresponding spectra values, would be paired on individual rows. Wide text puts all abscissa points first, with the spectra values later, with individual rows for each. This is slightly more complex when a "map" (spectral data taken over a 2D grid) is involved.
"Wide Text" layout:
      ν0.......νn
x0 y0 z0,0...z0,n
..... ...........
xm ym z0,m...zm,n
"Long Text" layout:
x0 y0 ν0 z0,0
x1 y1 ν0 z1,0
Once this is finished, various options such as axis units or description can be changed as desired (the default values for these can be changed in the settings). Once finished, press "OK."
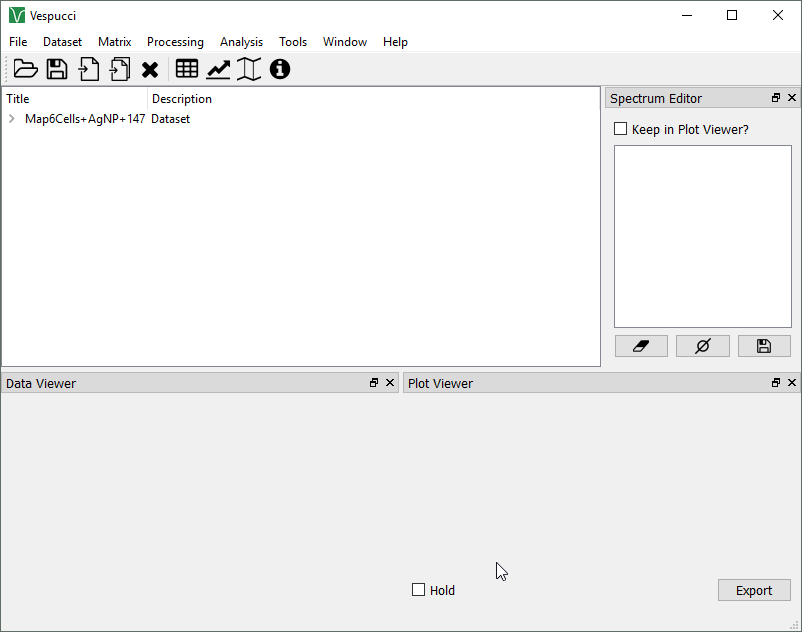
This should open the dataset in Vespucci, visible in the central window, for further use.