Workspace for developing Zephyr RTOS applications targeting VS Code as the IDE.
- Easy Zephyr installation via Docker
- VS Code Task configurations for:
- Building
- Cleaning
- Flashing
- Testing
- VS Code Launch files for:
- Debugging remotely on target board
- Debugging natively on host machine
- VS Code
- Linux environment (supports both native install and WSL2), in which the following dependencies are installed;
-
stlink-tools, which can be installed by
sudo apt install stlink-tools
Open a Linux terminal, then clone this repository and change directory to it:
git clone https://github.com/NTURacingTeam/zephyr_workspace.git
cd zephyr_workspaceBuild and run a Docker container named zephyr using Docker Compose:
docker compose up -dThen, attach to the shell of it:
docker exec -it zephyr bashIn the /workdir directory of the container, initialize it as Zephyr workspace:
west init -l <application_name>
west update
where <application_name> is the name of the application you want to develop. You may use blink as a reference application included in this repository.
Note
Since every Zephyr application has its own west manifest, when switching to another application, you need to remove the current west configuration and reinitialize it:
# in /workdir
rm -rf .west
west init -l <application_name>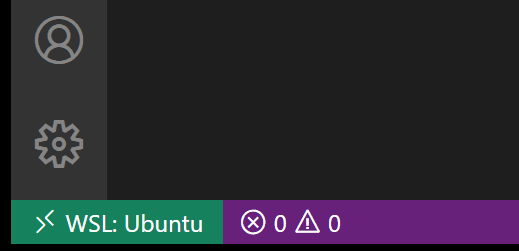
west updateInstall the Remote - WSL VS Code Extension and bring up the Command Palette with Ctrl+Shift+P or F1. Then we can attach to WSL2 by selecting WSL: Connect to WSL.
After this step, in the lower left corner of the Status Bar, you should see that you're connected to your WSL: Ubuntu.
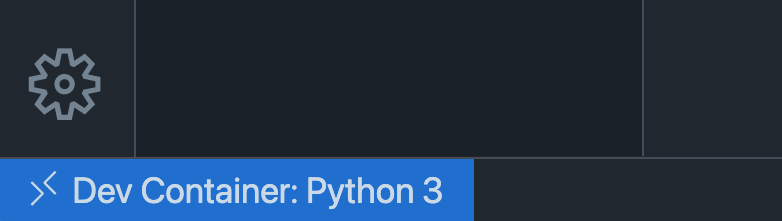
First install both Docker and Dev Containers VS Code Extensions. Second, bring up the Command Palette with Ctrl+Shift+P or F1 and select Dev Containers: Attach to Running Container.... Finally, select the zephyr container from the list to attach to VS Code to the container we just created.
After this step, in the lower left corner of the Status Bar, you should see that you're connected to your Container zephyr (zephyr), similar to the following:
Note
The VS Code Extensions are not shared across the host machine, WSL2 and Docker containers, so you must install Docker and Dev Containers extension in the WSL2 VS Code if you are using WSL2.
Then open VS Code Workspace using File -> Open Workspace from File from the menu bar and select /workdir/zephyr.code-workspace (just replace the default /home/user with this).
Before we can build and flash the application to target board, have to edit the zephyr.code-workspace file to match the application and target board we are developing. Change the following settings:
-
"folders" -> "path": the path to your application (default to
blinkreference application) -
"settings" -> "bsp": board support package settings
- "board": the board you are using
- "board_root": the path to the board
- "soc": the soc you are using
- "vendor": the vendor of the board
(the default values for
NUCLEO-G474REare suffice for now)
Note
Since VS Code caches settings, you may need to restart VS Code to make the changes take effect after editing settings in zephyr.code-workspace using Developer: Reload Window in Command Palette.
First attach target board to your computer.
Note
If you are using WSL2, by default USB devices are not accessible from WSL2. You need to follow this guide first and pass the attached board to WSL2 using usbpid command.
Then you can build and flash the application using the provided Tasks by pressing Ctrl+Shift+P or F1 to open the Command Palette and selecting Tasks: Run Task and then West Build and Flash.
You can debug the application using the provided Launch files by pressing F5 or selecting Run and Debug -> Start Debugging from the sidebar.
- Project structured as: zephyrproject-rtos/example-application
- VS code workspace config modified from: KozhinovAlexander/zephyr_vscode_workspace